Affichage des articles dont le libellé est english. Afficher tous les articles

Easter Nail art

I don't know what is the weather like where you live, but here in Montpellier, France, the sun if out more often, and Easter is just around the corner! So lets start spring with sweet and lovely nails! For this nail art I did not choose bright color  because I think that pastel colors give a more elegant aspect to the nail, and elongate the fingers.


China Glaze "Strong Adhesion Base Coat"

Essie "Mint Candy Apple"

Ess Trendy Coulours "Corail"
With a toothpick draw a zigzag pattern.

Ess Trendy Colour "Candy"
Do the same thing with another color.

Do it again with the first color .

O.P.I "Hotter than you Pink"
Make dots between the  zigzags

Apply Top Coat

For the other nails alternate with "Mint Candy Apple" and "Candy".

I hope you liked this tutorial, please leave a comment!

Kisses

Batman V Superman: Dawn of Justice String Art


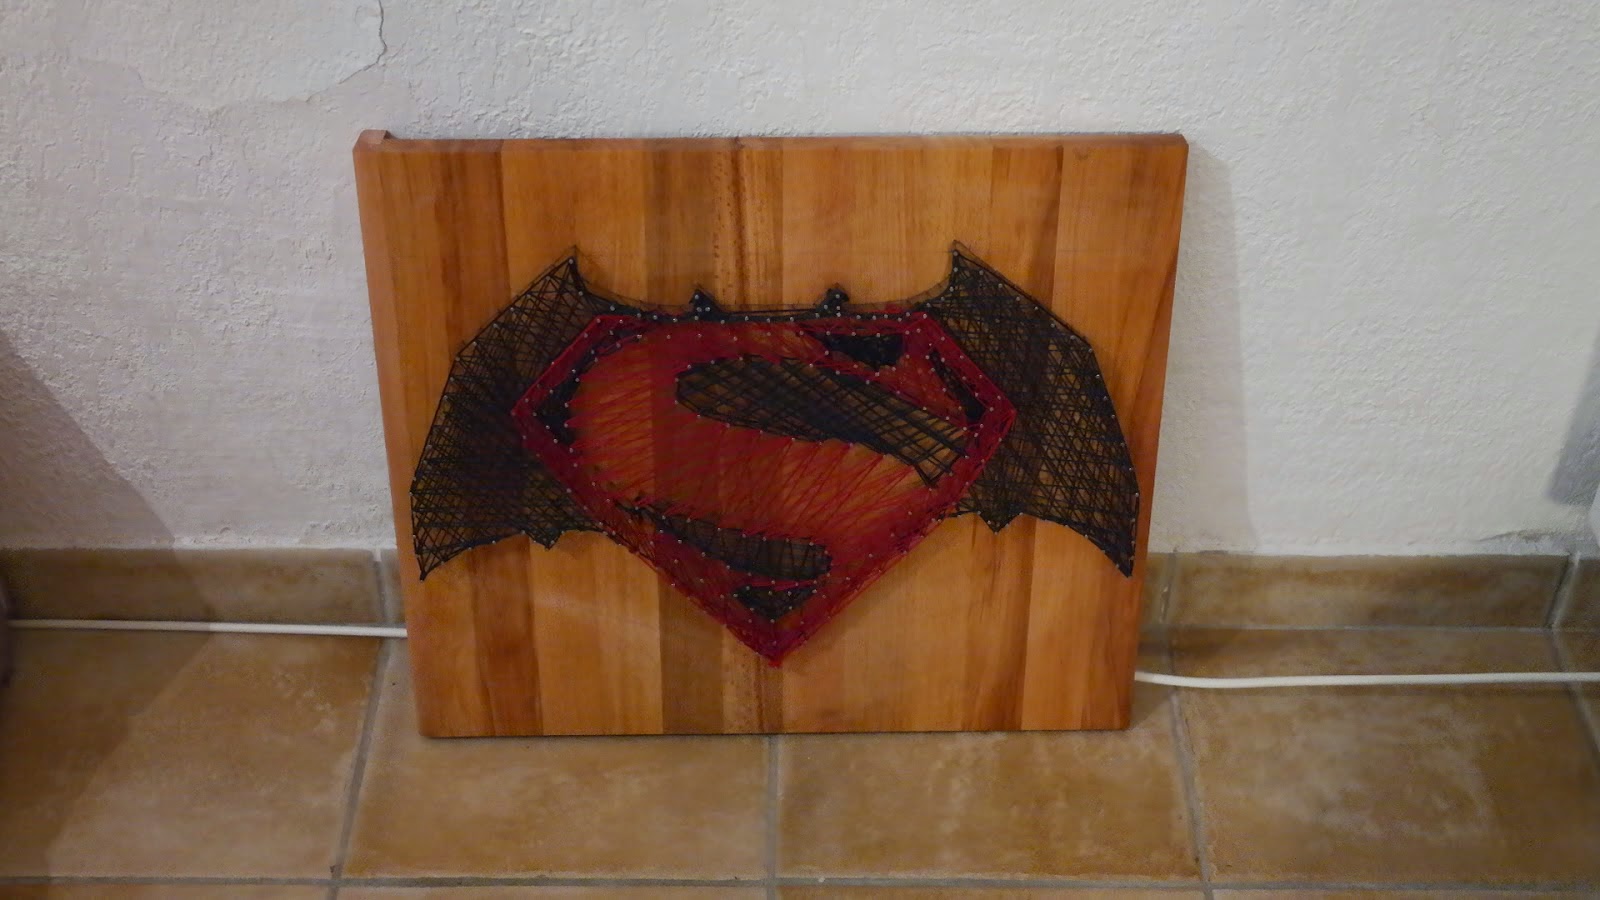
This year for Valentine's Day I was inspired by this picture found on Pinterest. I did not want to recreate a state or a country, but something more in relation with the likings of my Valentine. So I went for the futur BatmanVSuperman: Dawn of Justice logo movie.

You will need:
A wooden stand, I bought a cutting board 46x53cm (Ikea)
Flat-headed nails
A hammer
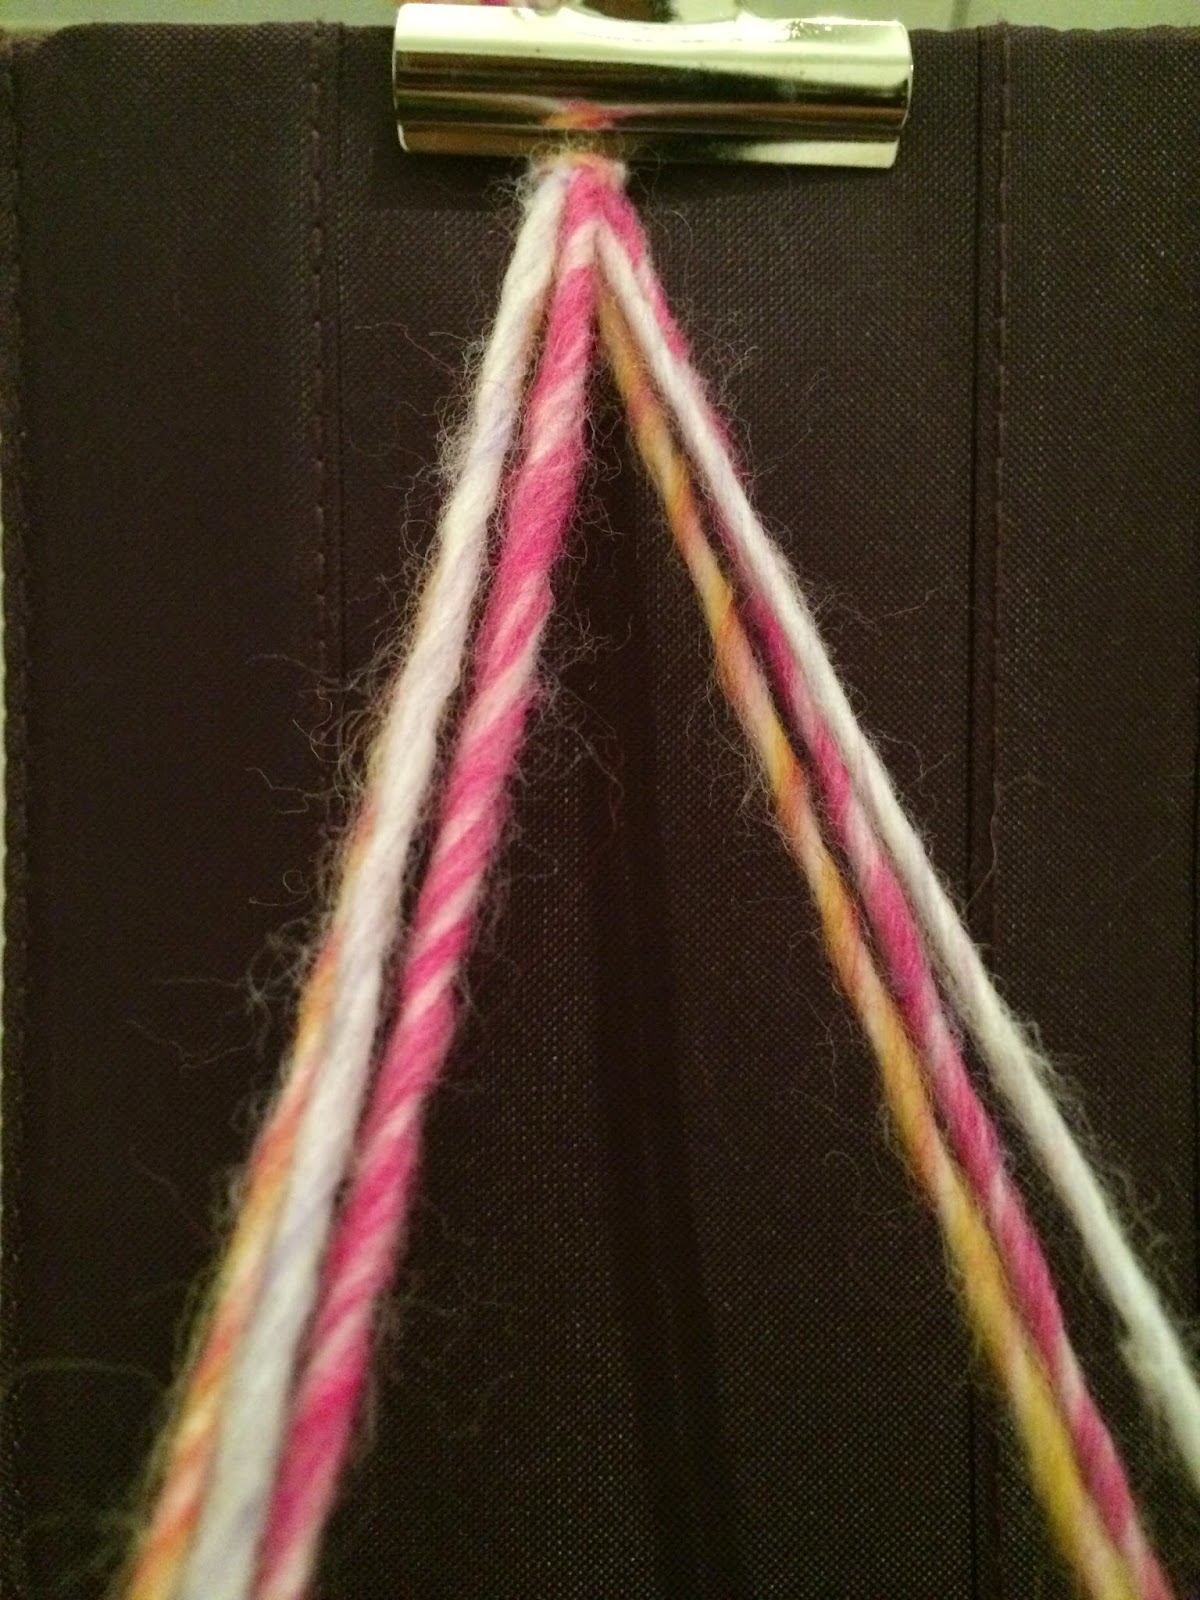
Yarn, I used wool yarn 3,5mm
A template. If the drawing you want to do is not too big, you can print a template to draw the edges on the cutting board, it would be easier and faster this way. I couldn't find a template which was big enough so I had to draw freehand which took more time.

Start by positioning your template on the wooden stand and draw the edges with a pencil.Then grab your hammer and your nails and start by nailing the tip of your design to allow a better definition at the end.Then nail up equidistantly  on the lines at equal distance.
When you are done, make a knot on one of the nail and go from nail to nail  until you are happy with how it turned out. If you want to do psychedelic effect, do a backward and forward movement going from the first nail where the knot is to the second nail, then back to the first nail and go to the third nail then back to the first nail.... And there you are !


O.P.I Life in Pink

I really like to take care of my nails, put on some nail polish, and try new methods. Unfortunately, and I don't know if it's the same for you, but even if I like having nice hands, my nails have a hard time growing up, and when they do grow, they broke one by one despite the effort I  make to keep them healthy. For my thumb nail I know I can't do anything, younger, it got caught in between the door, since then when it grows up it breaks, like, every time! For the rest of my nails it may be a deficiency in vitamin.
Also, I am not a nail-art artist, so these tutorials are easy to copy and doesn't required a lot of tools (you may already have them in your house).

Tips:
To avoid split fingernails, file your nails in the same direction.
To keep you nails stronger, and help the nail polish stick easier, apply a Top Coat, it will prevent your nails from getting yellow at the same time.
To apply you nail polish correctly and allow a quicker drying, wipe out the side of the brush to remove the excess of nail polish.

Apply the nail polish in three times:

  1. Apply first on the middle of your nail.
  2. Then on each side of your nail.
  3. Let it dry a few minutes.  And you are ready to apply a second layer!
Finally, for a manicure that seems to have been done at a salon try to not get polish on your cuticles. Apply it a bit upper than your skin and then drag it slowly down.
China Glaze "Strong Adhesion Base Coat" - O.P.I. "Malaga Wine" - O.P.I. "Hotter than you pink" - Miss Cop "Top Coat"


One layer is enough

If you have a product like Kiesque all the better, otherwise tape will work.

You can use any sponge you have. Apply the pink nail polish so that it's on the bottom of your nail.

Two layers later...


Apply Top Coat


Mon miroir DIY, dis moi qui est la plus belle ?

While I was cleaning, I found a little mirror hidden somewhere in my bathroom. It wasn't really ugly, but I knew it could have more potential. So, why not give it a second life ?

For this DIY you'll need:

  •  A mirror (Huh...obviously)
  • Yarn, I use a wool yarn but you can use whatever you have at home, such as those we use to make friendship bracelet. It shouldn't be too thin otherwise it would be harder to work on and the result wouldn't be very attractive!
  • A glue gun or a fabric glue. 
  • A rigid or a semi-rigid material such as a hard cover book for example.
  • A pliers
  • Beads (optional) 


Wool "Funky" Katia
The lengh of the yarn depends on the size of the mirror. Here I cut about 24 inches for a radius of 5 inches.


Make a knot. Easy-peasy, right ?

Using the pliers clip the knot to make the braiding easier.

For the type of braid it's up to you (Classic braid, fishtail braid, 5 strand braid or 6 strand braid).
First of all, split your yarns: 3 on the left and 3 on the right.
Choose the order of the yarns as you wish to, I chose white>yellow>pink on the left and on the right.
Behold! It's becoming harder! Just kidding :)  Just imagine the fishtail braid as a Tennis game or a Ping Pong game or whatever game where you have to throw back the ball.
Now, your right hand throw to your left hand its white yarn, then your left hand throw to your right hand its white yarn.
To the next color, your right hand throw to your left hand its yellow yarn, then your left hand throw to your right hand its yellow yarn.
To the next color, your right hand throw to your left hand its pink yarn, then your left hand throw to your right hand its pink yarn.
Voilà! You've completed a row! Keep going until the end on the yarn.
At the end make a knot.

Now, grab your glue gun and glue the braid on the edge.

Done! Not bad, right?
 You can stop here if you want to, and cut the leftover or you can also go on and add beads on it. Again, it's up to you, you can glue beads as many beads as you like, colorful or not.

If you have a jewellery pliers at home all the better, otherwise a tweezers will do the job.

Add a hint of glue and glue on the bead. Keep going until you're good with it.


Here you are, a simple and easy DIY with things you can find at home.
I hope that you like the idea, please let me know what you think about it.

Kisses <3